How to make a selects reel.
A selects reel is the best of the footage, graded, grouped and laid in a timeline someone else can watch. How to mark, grade and append one in each editor.
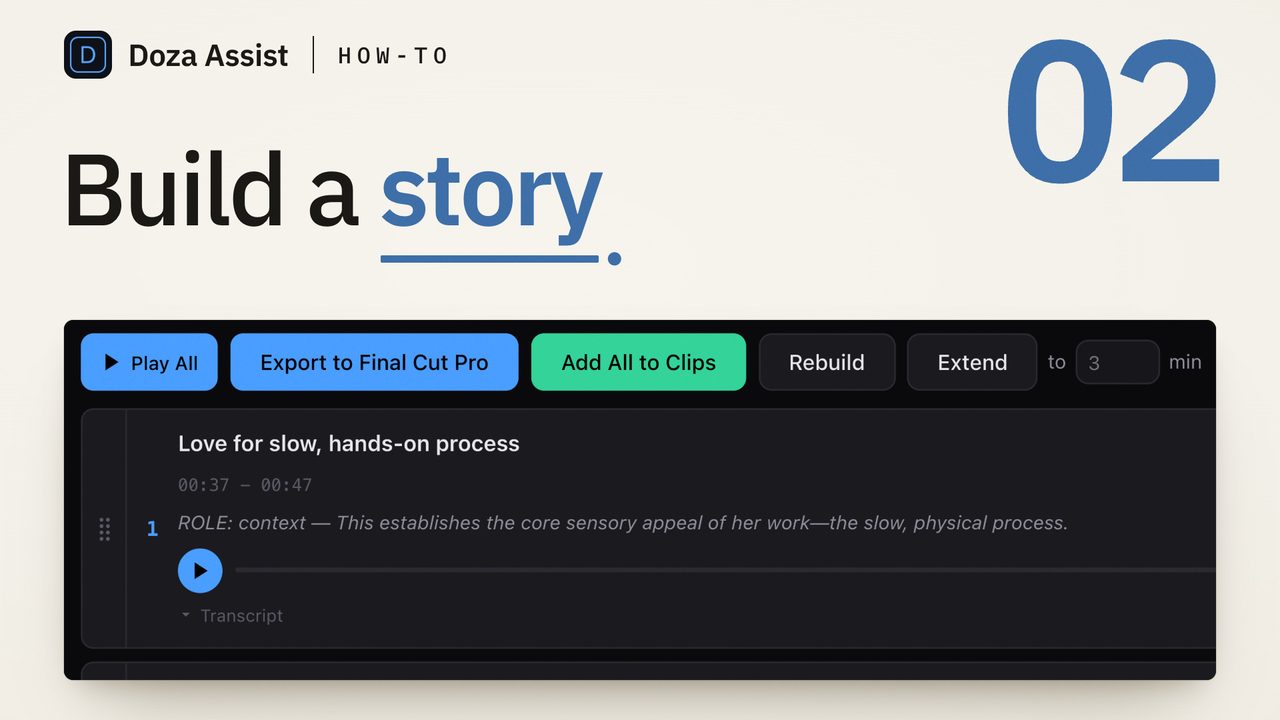
To make a selects reel, mark everything with potential, grade the marks on a second pass, group the keepers by subject or theme, and append the top grade into a fresh timeline in an order someone can follow. Slate each section, leave loose handles, add nothing else. A selects reel is a stringout that has been culled and ordered for another person to watch.
What is the difference between a selects reel and a stringout?
Both are timelines of marked moments, and the words get used loosely, but they do different jobs. A stringout is inventory: every candidate moment laid end to end, no order, no judgment beyond "this might matter". It is for you, and it can run for hours.
A selects reel is the shortlist. It carries the moments that survived a second screening, grouped so a viewer can follow them, short enough to watch in one sitting. It is for other people: the director who has not seen the dailies, the producer who signs off before the structure is built, the client who wants to know what the footage offers. The selects are the decisions; the reel is those decisions made screenable.
The practical difference is the viewer. A stringout can be three hours of one subject because the only person watching knows why each piece is there. A selects reel has to make sense to someone who does not, which is why it gets a cull, an order and slates.
How do you make a selects reel?
- Decide who the reel is for and what it has to answer. A director deciding structure wants the best telling of each story beat. A client approving a testimonial wants every usable line about the product. Write the question down first; it is the grading rule for every pass that follows.
- Transcribe the interviews and mark generously. On interview and dialogue footage, read the transcript rather than scrubbing the picture, and mark whole thoughts: the setup and the payoff, not the quotable half-sentence. Anything with a pulse gets a mark.
- Grade the marks on a second pass. Go back through the marks with the step-one question and give each a grade: must, strong, maybe. Three grades is enough; five becomes a debate. In every editor this is a color: favorites and keywords in Final Cut Pro, label colors on subclips in Premiere Pro, flag colors in DaVinci Resolve. Keep the scheme the same on every project so a yellow means the same thing a year from now.
- Group the keepers by subject or theme. By character shows what each person gives you; by theme shows what the footage says about each part of the story. On interview projects the usual answer is one reel per subject, with a second reel per major theme if the film has them, and the same moment can live in both.
- Append the top grade into a fresh timeline, in order. Filter to the must grade, select all, and append. Then order each group: strongest first when the viewer is deciding whether to keep a subject, chronological when they need to follow the subject's story. A random pile asks the viewer to do your job.
- Slate the sections and leave handles. A title card or a marker with the subject's name at the top of each group, and a second or two of air at every cut so the viewer can tell where one moment ends. No music, no cutaways, no trims to the frame. The reel should be watchable and obviously unfinished.
- Screen it, take timecoded notes, and version it. Watch it down yourself first; every place you reach for the keyboard is a note. Duplicate the sequence before you act on the notes, and name the versions so the one the producer watched can be found when their notes come back.
How do you append a selects reel in each editor?
The move is the same in all three: filter the marks to one grade, select them all, append to a fresh timeline.
In Final Cut Pro, grade with favorites plus keywords, and the Keyword Collections in the library sidebar become your groups. Select a collection, filter the browser to Favorites, select all and press E to append every range into a new project. The marks stay on the source clips, so a reel can be rebuilt any time. The keyword ranges guide has the whole system.
In Premiere Pro, make a subclip per marked moment, name it for what it contains, and sort subclips into bins per group with a label color for the grade. Sort a bin by label, select one grade, and drag the selection to a new sequence; the clips land in bin order, which is why the names matter. Sequence markers with comments carry the slates.
In DaVinci Resolve, the Cut page's append edit is built for this. Flag the marked ranges by grade, filter the Media Pool by flag color, select the clips, and append; the timeline grows end to end with no track juggling.
In all three, keep the reel on one video track and two audio tracks. A reel that needs a third track has started to become a cut, which is a different job.
When the marking pass is the slow part
Appending a reel takes an hour. Reading the footage well enough to grade it takes days. The reel is only as good as the pass that fed it: a strong moment that was never marked never reaches the producer. The reel also has a deadline, because other people are waiting on it.
The finding and the first ranking are the mechanical part. The grading, grouping and order are the editorial part, and they are what the viewer is paying for. A transcript with speakers labeled and timecodes on every word turns the first part into a search and leaves the afternoon for the second.
Doza Assist is a local-first AI editing assistant for interviews and dialogue, and a selects reel is what its selects pass produces. Drop the interviews in, transcription runs on your Mac with every voice labeled by AI Speaker ID, and soundbites are ranked across the whole interview, or every interview in a collection, so the first pass is marked before you start reading. Grade with the 5-color highlighter in the Clip Library, trim each clip to the word, and Export sends the selects as a sequence straight to Final Cut Pro, as an XML with markers and notes to Premiere Pro, or as an EDL or FCPXML to DaVinci Resolve. Nothing uploads, and the free trial runs every feature on the first 2 minutes of each file; the documentary editors page shows the pass end to end.
Common questions
How long should a selects reel be?
Short enough to watch in one sitting, which in practice means well under an hour per subject and often much less. If it runs longer, the second pass has not done its job and the viewer is watching a stringout. The deep pool stays there; the reel is the tight version.
Should a selects reel be in story order?
Not usually. A selects reel shows what the footage offers, and a structure this early hides the options. Order each group so it is easy to follow, strongest first or chronological, and leave story order for the paper edit and the rough cut, once everyone agrees on what is worth keeping.
Do I need a transcript to make a selects reel?
No, and for action, scenes and reactions you will mark from the picture. For interviews and dialogue, a transcript with speakers and timecodes is the difference between searching for a line and scrubbing for it, and it lets a second pass regrade a moment without replaying the clip.
What is the difference between a selects reel and a rough cut?
A selects reel is a review tool: the best material, grouped, with no structure and no attempt at a film. A rough cut is the first version of the film, with a beginning, middle and end. The reel comes first, so everyone agrees on what the footage can do before anyone commits to a structure.
Doza Assist transcribes every interview locally, finds the strongest moments across all of them, then sends your chosen ranges to Final Cut, Premiere, or Resolve. Your video never leaves your Mac.
Free trial: every feature on your first 2 minutes — no account, no card · 30-day money-back guarantee · Requires a Mac with Apple Silicon (M1 or later)