
How to make a stringout.
The fastest route from a pile of footage to a timeline you can actually think in — in Final Cut Pro, Premiere Pro, or DaVinci Resolve.
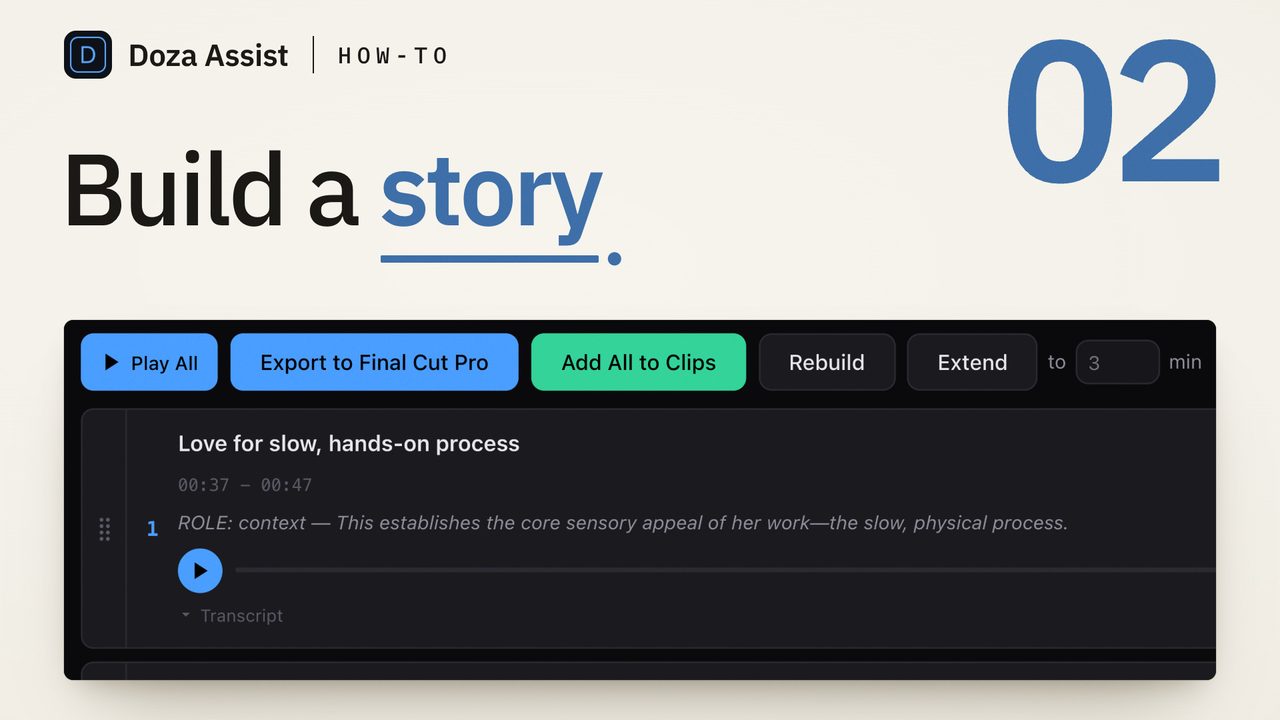
To make a stringout, mark every moment with potential, group the marks by speaker or topic, and lay the marked ranges end to end into a fresh timeline — no music, no trims, no story order. Then watch it down and demote the weak material. If you're new to the term, start with what a stringout is.
What do you need before you start?
Three things, and only the first is mandatory: watched footage, a marking system, and ideally a transcript. The single biggest time sink in stringout-building isn't laying clips into a timeline — it's re-finding moments you half-remember. Editors who transcribe interviews first can search for the line instead of scrubbing for it, which is why transcript-first stringouts routinely come together in a fraction of the time. If the material is interview-driven, get a transcript with speakers labeled and timecodes before you touch the timeline; your future self will pull moments by searching text.
Decide the grouping principle up front too: one stringout per interviewee, per scene, per topic, or per shoot day. On interview-heavy projects the workhorse layout is one reel per character plus one per major theme — the same bite can live in both.
The method, step by step
- Mark generously on the first pass. Anything with a pulse gets flagged. You are building inventory, not making the film — a stringout that's too short costs you options later, when reshoots are expensive or impossible.
- Tag each mark with its group. A keyword, a color, a label — whatever your NLE offers. The tag is what lets one screening pass feed several stringouts at once.
- Lay each group into its own fresh timeline, end to end. Loose handles, no transitions, no music. Many editors drop a marker or a one-line slate between sources so the reel stays navigable at speed.
- Watch each reel down and rate. This is the pass where redundancy pays: three tellings of the same anecdote sit side by side, and the best one is suddenly obvious. Demote, don't delete.
- Promote the survivors. Duplicate the reel, cut it to the keepers, and you have a selects-of-selects — the tight version you'll actually pull from while building the rough cut. The long reel stays as the deep archive.
How do you make a stringout in Final Cut Pro?
Use favorites and keywords, then append. Skim each clip and press F to favorite a range; add keywords for your groups (⌘K opens the Keyword Editor) so a range can belong to "Maria" and "the flood" at once. Filter the browser to Favorites or select a keyword collection, select all, and press E to append everything into a new project in one move. Because favorites live on the source clips, you can rebuild or re-slice stringouts any time — the marks survive. Multicam interviews stringout cleanly too: append the multicam clips themselves and every angle rides along.
How do you make a stringout in Premiere Pro?
Two workable routes. The classic: set In/Out on each moment in the Source Monitor and press comma (insert) to add it to a "STRINGOUT" sequence as you go — fast, but the marks live only in that sequence. The more durable route: make a subclip for each moment (⌘U / Ctrl+U), name it, sort subclips into bins per group, then select a bin's contents and drag them to a fresh sequence. Many documentary editors also swear by pancake editing — stacking a source sequence above the target and copying selects down — which shines when you're mining older cuts as well as dailies.
How do you make a stringout in DaVinci Resolve?
The Cut page was practically built for this. Load a clip in the source viewer, mark In/Out, and use append — the reel grows end to end with no track juggling. For a marking pass that survives reorganization, create subclips from the Media page (right-click the marked range) or use flags and markers per group, then filter by flag color when you lay in. Resolve's Source Tape mode is a genuine advantage here: it plays your whole bin as one long tape, which turns the screening-plus-marking pass into a single sitting.
How do you cull a stringout without losing your options?
Never trim the master reel — duplicate it. The working convention is versioned reels: Maria_STRINGOUT_v1 is everything, v2 is the survivors, v3 is the screenable selects reel. Storage is free; re-finding a moment you cut from the only copy is not. When a reel drops below roughly twice your target runtime for that thread, stop culling and start assembling — tightening beyond that point is the assembly's job, done blind.
Doza Assist collapses steps one through three. It transcribes every interview locally on your Mac with speakers labeled, finds the strongest soundbites across the whole project, and gives you a 5-color highlighter to group moments by character or theme — in text, where finding is searching. Your chosen ranges then export as a sequence straight to a Final Cut Pro timeline, a Premiere Pro XML, or DaVinci Resolve, with markers and notes in place. The screening pass is still yours; the hunting and laying-in stops being manual.
Common questions
Should music or b-roll go into a stringout?
No. A stringout is inventory, and anything that isn't a candidate moment dilutes it. The exception some editors allow: a b-roll-only stringout per location or motif, kept as its own reel — inventory of picture, same logic as inventory of bites.
How long should a stringout be?
Long. Three to ten times the target runtime at the first pass is normal on documentary projects. If your stringout barely exceeds the finished length, you marked too conservatively — go back before the gaps find you in the fine cut.
Is a stringout the same thing as a selects reel?
They're siblings. The stringout is the full inventory pass; a selects reel usually means the tighter, screenable cut of it. The selects entry covers the marking systems in detail.
Do I even need a timeline stringout if I have a transcript?
Often you can start on paper instead: mark the transcript, structure the story in text, and only then build a timeline — that's the paper edit route, and here's the step-by-step. Most interview-driven projects end up using both: paper for story, stringouts for coverage.
Doza Assist transcribes every interview locally, finds the strongest moments across all of them, then sends your chosen ranges to Final Cut, Premiere, or Resolve. Your video never leaves your Mac.
Free trial: every feature on your first 2 minutes — no account, no card · 30-day money-back guarantee · Requires a Mac with Apple Silicon (M1 or later)