How to make a radio cut.
A radio cut is the interview audio laid in story order, picture ignored. How to build one from a transcript, play it with the monitor dark and fix the story before you dress it.
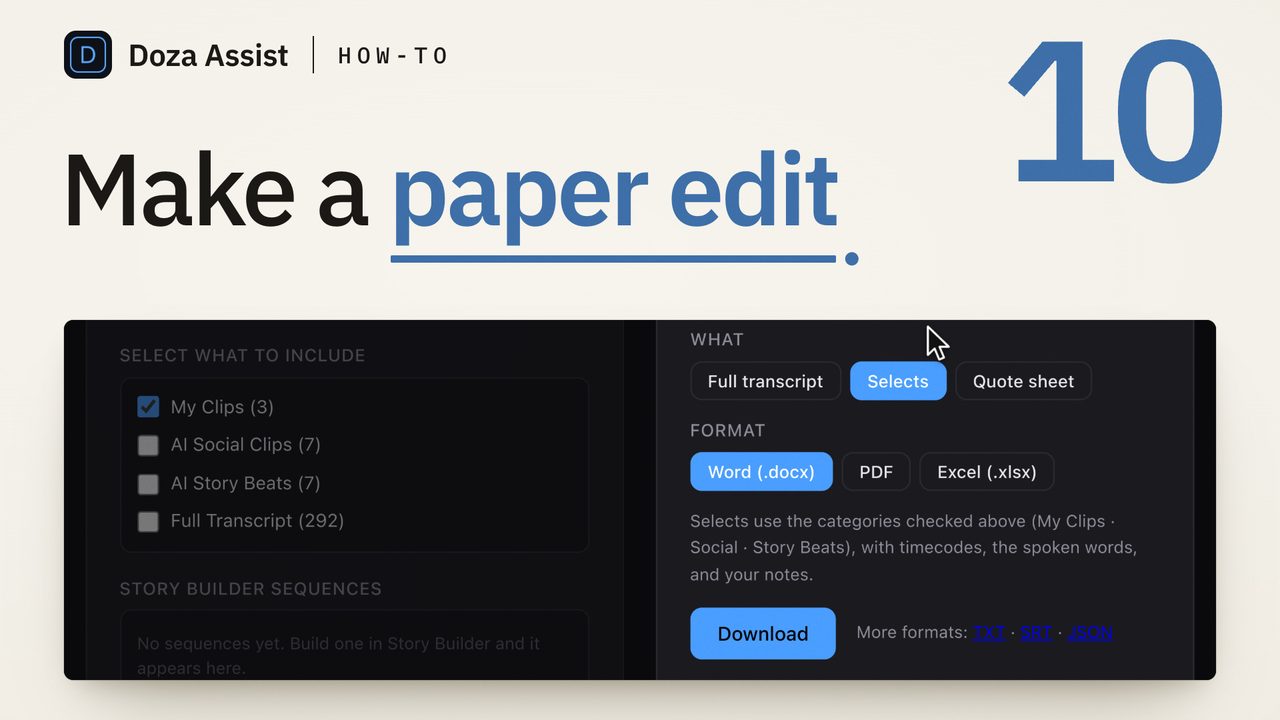
To make a radio cut, lay the chosen interview and dialogue audio into a timeline in story order and ignore the picture. Work from a transcript, mark the passages that carry the story, put them in sequence, then play the cut with the monitor dark. Fix every sag and jump you hear before you touch B-roll, music or a single cutaway.
What is a radio cut, and why make one?
A radio cut is the spoken spine of an interview-driven film, assembled on its own. The interview clips go in the timeline with whatever picture rides along, but nobody looks at it. The test is whether the story holds with your eyes closed.
Editors make one because the voices carry the narrative. Picture confirms and deepens what people say; it rarely rescues a story that does not track. B-roll, music and montage can make a broken sequence feel finished, and a radio cut takes that anesthetic away while the fix still costs minutes. The ending that arrives before the argument, the second subject who repeats the first, the missing line of context: all of it is audible long before it is visible.
It sits between the paper edit and the rough cut. The paper edit is the story built in text. The radio cut is the same story tested in audio. The rough cut is what you get once picture is laid over a radio cut that plays.
How do you make a radio cut?
- Transcribe everything and label the speakers. A radio cut is built from words, so the transcript comes first: every interview in the project, with timecodes and a name on every paragraph, including the ones you think you will not use. The line you need is usually in the interview you were going to skip.
- Mark the passages that carry the story. Read, do not scrub. Mark whole thoughts, not sentences, and note what each one does: setup, complication, turn, resolution. Highlighter colors by beat keep the marks readable a week later. Pull both versions when a subject tells the same story twice; the next step wants the choice.
- Put the marks in story order on paper. Before the timeline, arrange the marked passages in a document, speaker and timecode on each. Read it aloud. If it does not read, it will not play, and moving a paragraph in text costs less than moving a clip. This is the paper edit.
- Lay the audio into a timeline in that order. Make a new sequence and place each passage in the order the document gives, with a little air on either side so you can trim later. Keep the picture if it comes along, but do not cut to it. One or two tracks of dialogue and nothing else.
- Play it with the monitor dark. Turn your chair around, or put the cut on headphones and walk. Take notes with timecodes: where attention drops, where the logic jumps, where a voice repeats the last one, where a name is used before anyone has said who that is.
- Restructure until the audio flows. Swap bites, cut the repeats, move the strongest voice earlier, pull the explanation up to where the question first arises. If a hole needs a line nobody said, write it down as a narration note or a pickup question and keep going. Listen again. Repeat until the notes stop.
- Only then dress the picture. Once the radio cut plays start to finish without a sag, layer cutaways, archival and music over it. The audio spine becomes the skeleton of the rough cut, and every picture decision from here on answers to a story that already works.
What does the timeline look like in each editor?
The mechanics are small, which is the point. The craft is in the listening, not the software.
In Final Cut Pro, the interview clips go in the primary storyline and the audio is what you attend to. Favorites and keyword ranges mark selects on the source clips without making copies, and audio skimming with clip skimming off lets you find a line in the browser without the picture flashing past.
In Premiere Pro, set the source patching so only the audio tracks are enabled and the video drags in as nothing. The sequence shows two dialogue tracks and an empty V1, which is honest about what you are judging. Sequence markers with comments are where the listening notes go.
In DaVinci Resolve, the Edit page's destination controls do the same job: turn off the video destination and only audio lands. Stay on the Edit page, where moving a clip is one drag.
In all three, duplicate the sequence before each restructure, so the version that nearly worked is still there when the version that should work does not.
When the transcript pass is the slow part
The timeline work in a radio cut takes an afternoon. The reading does not. Ten hours of interviews is days of read-and-mark before anything is laid, for one editor who already knows the material. On a series or a film with a dozen subjects, the finding pass is the whole schedule, and a line you cannot find is a line that is not in the film.
That is the part worth handing to a machine. Transcription, speaker labels, a search that reads across every interview at once and a first shortlist of the strongest passages are exactly the jobs that do not need your taste. The sequencing and the listening still do. The stringout is the same idea at an earlier stage: every candidate in one timeline, before the story order is decided.
Doza Assist is a local-first AI editing assistant for interviews and dialogue, and the radio cut is the job it was built around. Drop the interviews in and the transcription runs on your Mac with every voice labeled by AI Speaker ID; soundbites are ranked across the whole interview, or every interview in a collection, so the strongest passages are already marked when you start reading. Mark the ranges you want with the 5-color highlighter, trim them to the word, and build the stringout or paper edit from the transcript in story order; AI Chat answers a plain-words question like "where does she talk about the layoffs" with playable, timecoded clip cards. Export sends the sequence straight to Final Cut Pro, as an XML with cuts, markers and notes to Premiere Pro, or as an EDL or FCPXML to DaVinci Resolve, and you listen from there. Nothing uploads, and the free trial runs every feature on the first 2 minutes of each file; the documentary editors page shows the whole pass.
Common questions
What is the difference between a radio cut and a paper edit?
The paper edit is the story built in text: marked transcript passages arranged in a document until it reads. The radio cut is the same story laid into a timeline as audio and tested by ear. Most editors do both, in that order, because moving a paragraph is cheaper than moving a clip and listening catches what reading misses.
Should the radio cut include narration?
If the film will have narration, yes, as a scratch track in your own voice. The radio cut tests whether the spoken story holds, and narration is part of that story. Record it quickly, lay it where the script puts it, and listen to the whole thing. A line that only exists in your head is not being tested.
How long should a radio cut be?
Longer than the film, and not by much. A radio cut that runs well past the target length is a stringout, not a cut, and the listening test does not work on it. Trim it to a length you can play start to finish in one sitting, then tighten from there.
How many times should I listen before adding picture?
Until a full pass produces no notes. Each listen with the monitor dark finds the next weakest moment, and once that moment is a picture problem rather than a story problem, the radio cut is done. Time away from the cut between passes helps more than another pass the same day.
Doza Assist transcribes every interview locally, finds the strongest moments across all of them, then sends your chosen ranges to Final Cut, Premiere, or Resolve. Your video never leaves your Mac.
Free trial: every feature on your first 2 minutes — no account, no card · 30-day money-back guarantee · Requires a Mac with Apple Silicon (M1 or later)